
Crawl Space Encapsulation Process: Step by Step
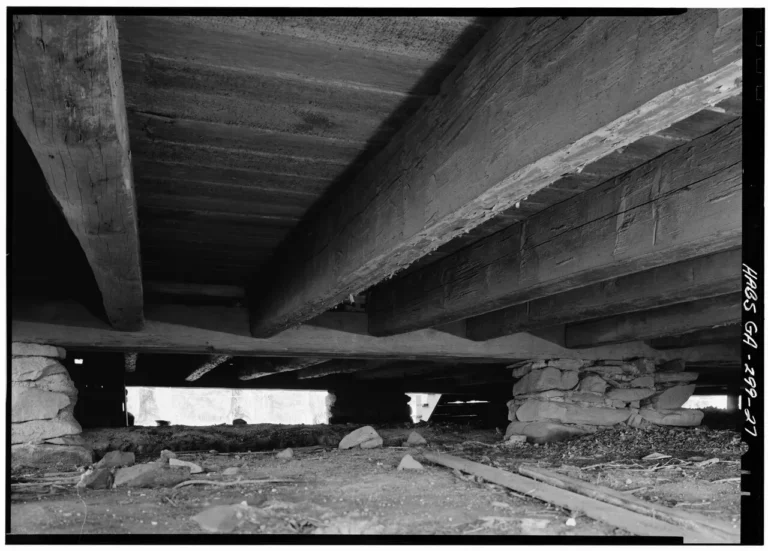
If you want a clear, ordered crawl space encapsulation process you can match to a written bid—not another definition of what encapsulation is—start with the Crawl Space Encapsulation Guide. If you’re not sure your crawl is ready to seal, read When Not to Encapsulate a Crawl Space first.
A good job follows a sequence: assess, fix water and hazards, plan combustion and radon, then seal and detail the enclosure, then dry or condition the space, then verify. Jumping straight to a liner while water or combustion is unresolved isn’t encapsulation—it’s a redo waiting to happen.
For money ranges, see the Crawl Space Encapsulation Cost Guide. For comparing bids, see How to Hire and Compare Crawl Space Contractors.
Safety first
- Confined space. Poor air, heat, pests, and sharp debris are real risks. Wear proper protective gear, and don’t enter a flooded or sewage-contaminated crawl. See Water in the Crawl Space: Causes and Fixes.
- Combustion. Sealing a crawl that holds natural-draft equipment can create backdrafting. After the work, a combustion safety test is expected when those appliances are still there. Hire a qualified heating or combustion technician—don’t seal with foam and hope for the best.
- Flood openings. Required flood openings aren’t the same as ordinary foundation air vents. See Vented vs Unvented Crawl Space and the stop list on When Not to Encapsulate a Crawl Space.
- Mold, structure, and pests. Fix those before liner day. Start with Crawl Space Mold: What Homeowners Should Do if you see growth on the wood.
The typical sequence
| Order | Step | What “done” looks like |
|---|---|---|
| 1 | Assess and document | A written problem list before anyone seals |
| 2 | Water, drainage, and flood openings | Bulk water under control; flood path compliant if required |
| 3 | Pest, mold, and structure | Damaged wood replaced; hazards handled |
| 4 | Combustion and radon plan | Appliance plan plus a post-job radon testing plan |
| 5 | Air sealing and vent closure | Vents and penetrations sealed as part of the system, with your local building authority in mind |
| 6 | Ground liner | Continuous ground cover, detailed and sealed |
| 7 | Insulation | Often at the perimeter walls in a closed crawl, with a termite inspection gap where that detail is used |
| 8 | Conditioning or drying | A real drying path—exhaust, supply air, or a crawl dehumidifier—not a sealed wet box |
| 9 | Post-job checks | Combustion test if needed, radon kit, water watch, sealed access, equipment running and draining |
Step 1 — Assess and document
Before anyone seals, walk the crawl and write down what’s wrong. Building America and ENERGY STAR closed-crawl guidance both start here: find bulk water, moisture, and pest damage, and give yourself (or your contractor) a problem list so remediation can happen first.
Use the Crawl Space Inspection Checklist as a homeowner aid—not a substitute for a pro inspection. Note standing water, stains, musty odor, exterior grade and gutters, flood-opening status, combustion appliances, insulation condition, rotting wood, pests, access size, and whether a dehumidifier or other drying path is proposed after sealing. If the answer is “not yet,” stop and follow When Not to Encapsulate a Crawl Space.
Step 2 — Water, drainage, and flood openings first
Moisture management comes before plastic. That means roof runoff, site grading, foundation drains, dampproofing or waterproofing, drains and a sump when you need them, and flood vents when they’re required.
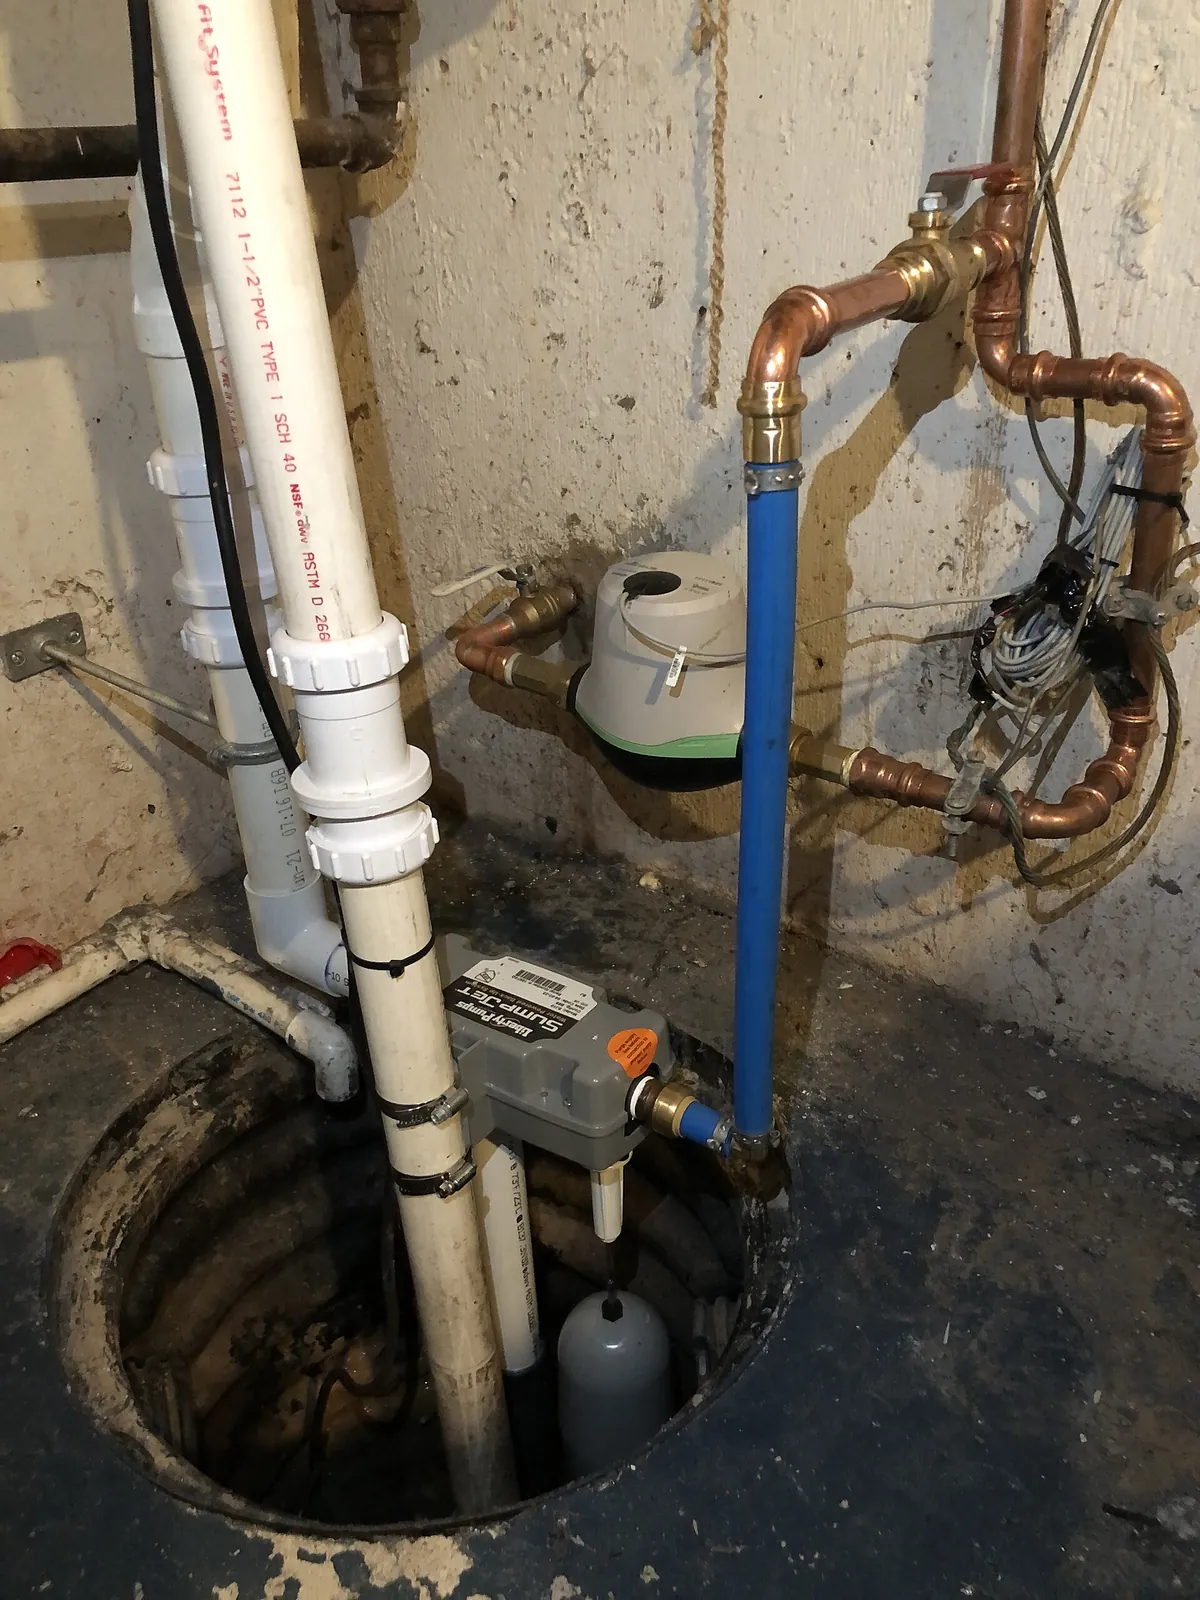
The Building America Solution Center conversion checklist is blunt: verify foundation drainage and waterproofing or damp-proofing before you proceed, decide whether flood vents are needed, and add perimeter drainage if the crawl ground sits below surrounding grade. Don’t install a sealed liner over unmanaged groundwater and call the job finished.
For causes and safety around standing water, see Water in the Crawl Space: Causes and Fixes. For the drainage system overview, see the Crawl Space Drainage and Waterproofing Guide.
Step 3 — Pest, mold, and structural work first
Remove failed insulation as needed, replace rotting wood, and clean wall surfaces before the new package goes in. Active mold, sewage residue, or structural warning signs are stop conditions for liner day—not side jobs while the poly goes down. Coordinate pest control with local practice; closed-crawl designs often leave a termite inspection gap at the top of perimeter wall insulation where that strategy is used.
Step 4 — Combustion and radon planning
If fuel-fired equipment is involved, prefer direct-vent (two-pipe) appliances. Other combustion-air strategies need manufacturer and code approval. When natural-draft equipment stays in the crawl—a water heater or furnace, for example—plan a post-completion combustion safety test for backdrafting or spillage. Carbon monoxide alarms belong in the conversation when combustion or an attached garage is part of the picture.
Sealing doesn’t automatically solve radon. Closed crawls can still need soil-gas control. Plan a radon test after the retrofit, and mitigate if results exceed the levels the U.S. Environmental Protection Agency treats as actionable. The EPA and the Surgeon General recommend testing homes for radon.
Step 5 — Air sealing and vent closure
Converting a vented crawl to an unvented one means foundation wall vents and other penetrations get blocked and sealed. Air sealing and insulation shift toward the exterior walls so the crawl becomes part of the home’s conditioned volume. Use sealants that match the surfaces, and meet fire-rating needs around flues. Seal penetrations through the framed floor for fire safety.
If flood openings are required, some vents may be replaced with flood vents that still limit standby air leakage—ordinary foam plugs aren’t flood compliance. The International Residential Code allows sealed, unvented crawl spaces when the listed conditions are met; confirm what your local building authority actually enforces. For the systems comparison, see Vented vs Unvented Crawl Space.
Access doors and panels should be airtight and durable, and protected from roof runoff or grade.
Step 6 — Ground liner
Exposed earth gets a continuous Class I vapor retarder. Under the common code approach, joints overlap at least 6 inches and are sealed or taped, and edges turn up at least 6 inches on the stem wall and are attached and sealed to the wall or insulation.
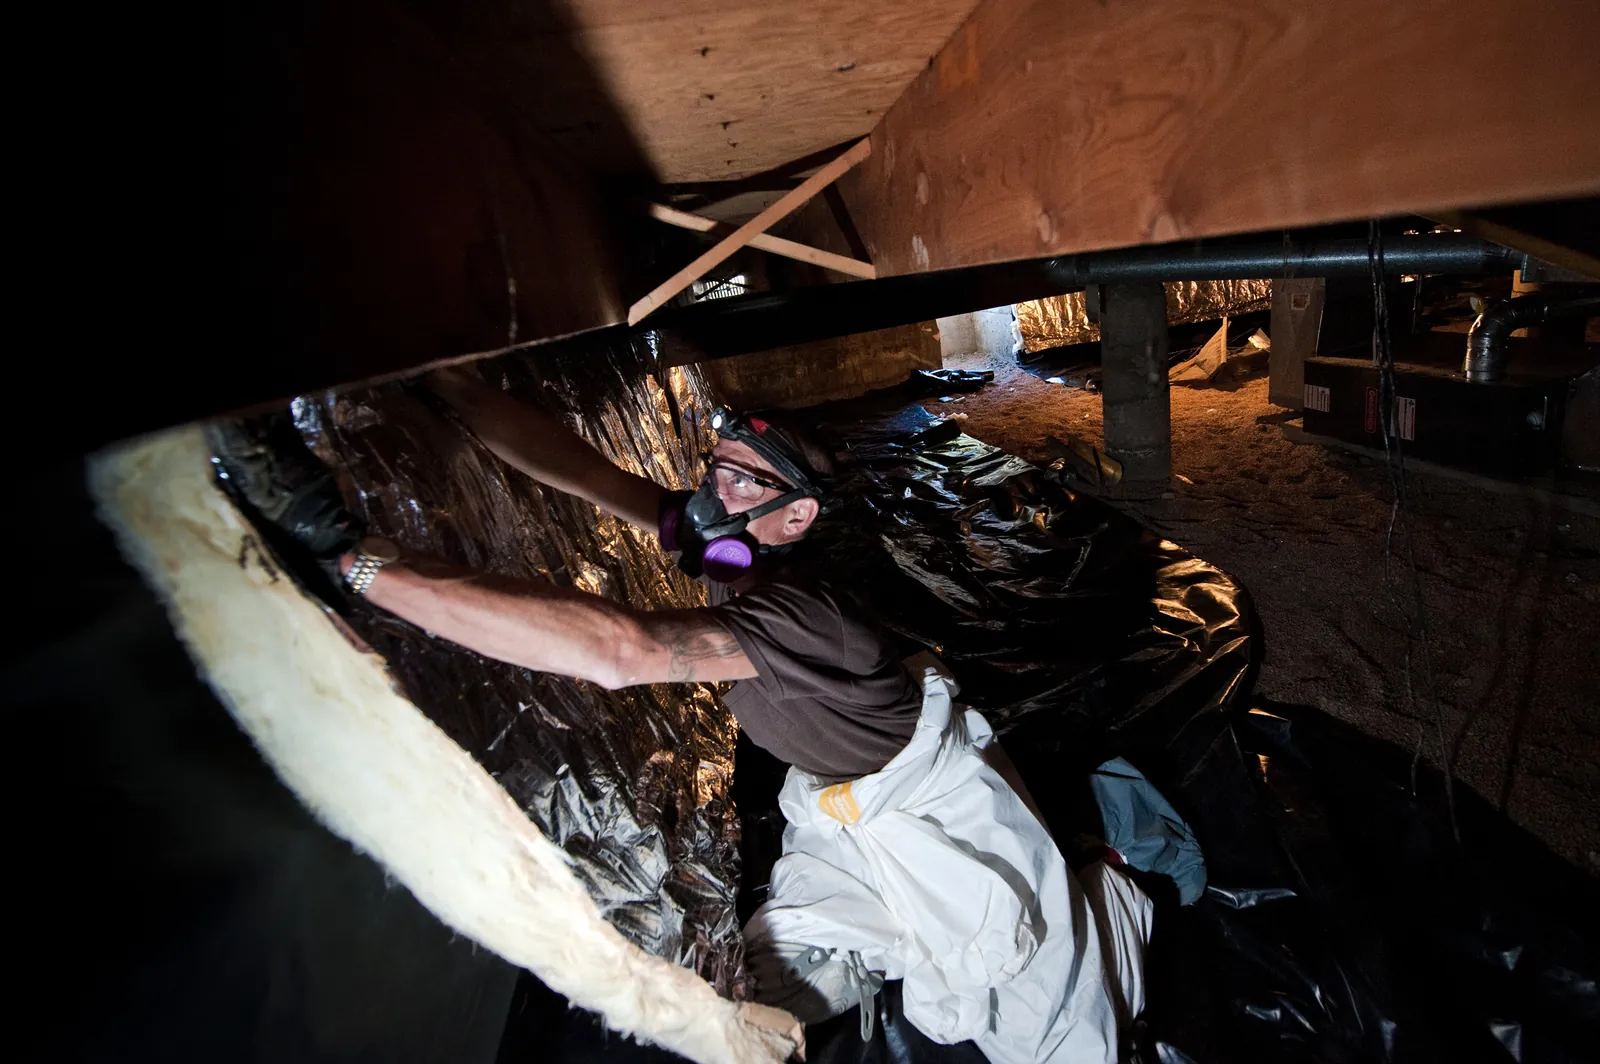
Weatherization practice from the U.S. Department of Energy is often stricter on the details: clear debris and vegetation; use at least 6-mil ground cover with a perm rating of 0.1 or less; extend the sheet at least 6 inches up walls, piers, and columns; overlap seams at least 12 inches; tape seams; seal edges and penetrations; and don’t block drainage patterns. The Building America Solution Center checklist calls for similar detailing after organic material is cleared.
Spec the bid to your local building authority and any stricter project requirement. For liner grades and install quality, see the Crawl Space Vapor Barrier Guide.
Step 7 — Insulation location
Rim joists, band joists, and foundation walls get air-sealed and insulated to meet your adopted energy-code R-values. Ignition-barrier rules apply to foam. Insulation may sit at the subfloor or on the perimeter wall; perimeter strategies often use non-porous insulation and may include a termite inspection gap.
For which location fits a vented versus closed design, see Insulate Crawl Space Walls or Floor?—don’t treat “spray everything” as the universal answer.
Step 8 — Conditioning or mechanical drying
A sealed crawl without a drying plan is a stop condition. ENERGY STAR closed-crawl design lists a mechanical drying system—conditioned-air supply or a dehumidifier—among the core moisture pieces.
Under the International Residential Code path for unvented crawls, you still need the Class I ground cover plus one of these approaches: continuous mechanical exhaust at 1 cubic foot per minute for every 50 square feet of crawl floor, with an air pathway to the common area and insulated perimeter walls; conditioned air supply at that same rate, with a return pathway; an approved plenum arrangement in existing buildings; or dehumidification sized to the manufacturer’s specifications.
For humidity targets and how to measure, see Crawl Space Humidity and Moisture Control. For choosing and draining a unit, see Crawl Space Dehumidifier Guide.
Step 9 — Post-job checks and handoff
After the work:
- Watch for water intrusion and fix causes if it returns.
- Run combustion safety testing when natural-draft equipment is present.
- Check whether the house has a whole-house ventilation system that needs attention—those house-size checks are separate from the crawl’s own 1 cfm per 50 square feet supply or exhaust path.
- Use the radon test kit and follow mitigation advice if results are too high.
- Confirm the access is insulated and airtight, liner seams and upturns are intact, vents are sealed or replaced with compliant flood openings, and the drying equipment is running and draining correctly.
Ongoing filters, dehumidifier drains, and storm checks pair with the Crawl Space Inspection Checklist.
Cost and who to hire
For what each package typically costs, see the Crawl Space Encapsulation Cost Guide. For checking licenses, insurance, and what each quote includes, see How to Hire and Compare Crawl Space Contractors. Match bids to the sequence—and to the stops on When Not to Encapsulate a Crawl Space—not to the lowest lump sum.
Sources
- Building America Solution Center — Vented to Unvented Crawl Space
- ENERGY STAR asset — Designing Closed Crawlspaces
- U.S. Department of Energy — Install or Repair a Crawl Space Vapor Retarder
- U.S. Department of Energy — Unvented, Conditioned Crawlspaces – Building America Top Innovation
- IBACOS / Building America — Guide to Closing and Conditioning Ventilated Crawlspaces
- IRC 2021 R408.3 Unvented Crawl Space (Class I ground cover; 6 in. sealed overlaps; ≥6 in. upturns; exhaust / supply / plenum / dehumidifier options) — text as published on UpCodes (Texas 2021). Confirm your adopted edition and local amendments
- Building America Solution Center — Water Management for an Existing Crawlspace Floor
- Building America Solution Center — Flood-Resistant Crawlspace Foundations
Image credits
- ‘Detailed view of floor beams from a crawl space (Kolb House, HABS)’: Historic American Buildings Survey (HABS) / Library of Congress / Wikimedia Commons, public domain, resized and converted to WebP.
- ‘Worker installing a moisture barrier and insulation in a residential crawl space’: U.S. Department of Energy / NREL (Dennis Schroeder) / Wikimedia Commons, public domain, resized and converted to WebP.
- ‘Newly installed sump pump in a residential basin’ by Famartin via Wikimedia Commons, CC BY-SA 4.0, resized and converted to WebP.
The bottom line
A responsible encapsulation process is a sequence, not a single product day: assess, fix water and hazards, plan combustion and radon and flood compliance, then air-seal, detail the liner, insulate per design, commission a real conditioning path, and verify. Match bids to those steps—and to When Not to Encapsulate a Crawl Space stops—rather than to a lowest lump sum. for the system overview, see the Crawl Space Encapsulation Guide. On costs, Crawl Space Encapsulation Cost Guide.